I have long had a love-hate relationship with making pies. I love pie. I adore pie. I covet pie. I lust for pie. Especially warm fruit pie with ice cream. And while a cobbler or crisp gives you essentially the same flavor, there is something iconic about pie that makes it even more deeply soul-satisfying. Being able to bake a perfect pie has been a holy grail for me for a long, long time.
But pie crust is a bitch. It's moody, unpredictable, overly sensitive, uncooperative and messy. I have thrown out more pie doughs than I care to admit. I have sworn off pies forever, only to find myself back in the kitchen a few hours later, pounding the rolling pin on the counter once again. Because I NEED to make pie. As much as it bedevils me, I can't stay away from it. Sometimes I manage to roll out a crust without too many tears and curses, but most times it's ugly in the kitchen when I'm making a pie.
So...back to the blueberry pie. This crust unfortunately fell into the maddening category. It was tough to roll out, cracking badly on the edges and falling apart when I transferred it into the pan. As soon as it started to bake in the oven, the darn thing seemed to fall apart, like it was melting. The crimps drooped and some just fell right off the pie plate and onto the sheet pan. Aaagh! This has happened in the past - why, why, why?? My crimps were perfectly perky before going in the oven and the end product looked like I had just thrown a bunch of dough at the wall and let it slide down onto the berries.
In the end, the pie tasted fine and my guests loved it. The filling was sweet but not too sweet and nicely balanced. I added a sprinkling of cinnamon but would add more next time as it wasn't noticeable. The crust was buttery and yummy. But still, I was not happy with how my crust had rolled out and I wanted my crimps to stay put, not melt off the pie plate.
This weekend, I made another batch of pie dough. And I am happy to report that some new techniques I used made a HUGE difference. Rather than ending up frustrated and cursing up a storm, I actually enjoyed rolling out the crusts. Success at last! I could hardly contain my glee. So, here is what I learned:
1. I used the food processor to blend in the butter. I always make sure everything is cold -- the flour, the butter, the metal blade. In the past, I think I under-blended the butter and ended up with some very large chunks of fat. This probably meant that some of the flour wasn't "touched" by fat and therefore too dry. It may also be why the crust seemed to melt in the oven. So, this time I pulsed a bit longer so that the butter was tiny little pea-size pieces.
2. I added water - about 7 Tbs in all - and pulsed until the mixture looked like dry cottage cheese curds. Another problem I have always had in the past is that I seemed to need so much more water than the recipe called for and I would end up with a dough too wet and then tough after baking. I think I under-pulsed so that the water I added didn't have a chance to evenly distribute. This time I just pulsed a bit more after adding the initial 6 Tbs, then added the extra drops when I thought it really did need it. Next time, I might be more brave and keep pulsing rather than adding more water. I'm just always afraid of over-working the dough but I think excess water might be a bigger risk.
3. After squeezing the dough into 2 balls, I patted it out into a fat disk, wrapped it with saran and then patted it out AGAIN into a much larger, flatter disk - about 5 inches in diameter. I have never made the disk this big before. Then I chilled it for a few hours. When I started to roll it out, I found it was much easier because the dough was fairly flat already. I didn't have any cracking in the middle and much less on the edges.
4. I used a vinyl pastry bag to roll out my dough. I had bought one many months ago on Dorie's recommendation but never pulled it out of the drawer. I don't know why but I had looked at it and thought it looked strange so I just shelved it. This time, I figured I needed to change my methods and would give it a whirl. Holy cow! What a revelation! I love the thing. It totally made rolling much easier - I could better control the shape to ensure it was round. There is less mess on the countertop as you don't have flour flying all over and the rolling pin doesn't stick. My new friend the vinyl pastry rolling bag, you must meet her! You can buy one here.
5. Instead of rolling with my hands on the rolling pins' handles, I put my hands on the barrel itself and put my full weight into it. I used fewer strokes and the rolling went much faster. Another revelation - why was I holding those handles all this time??
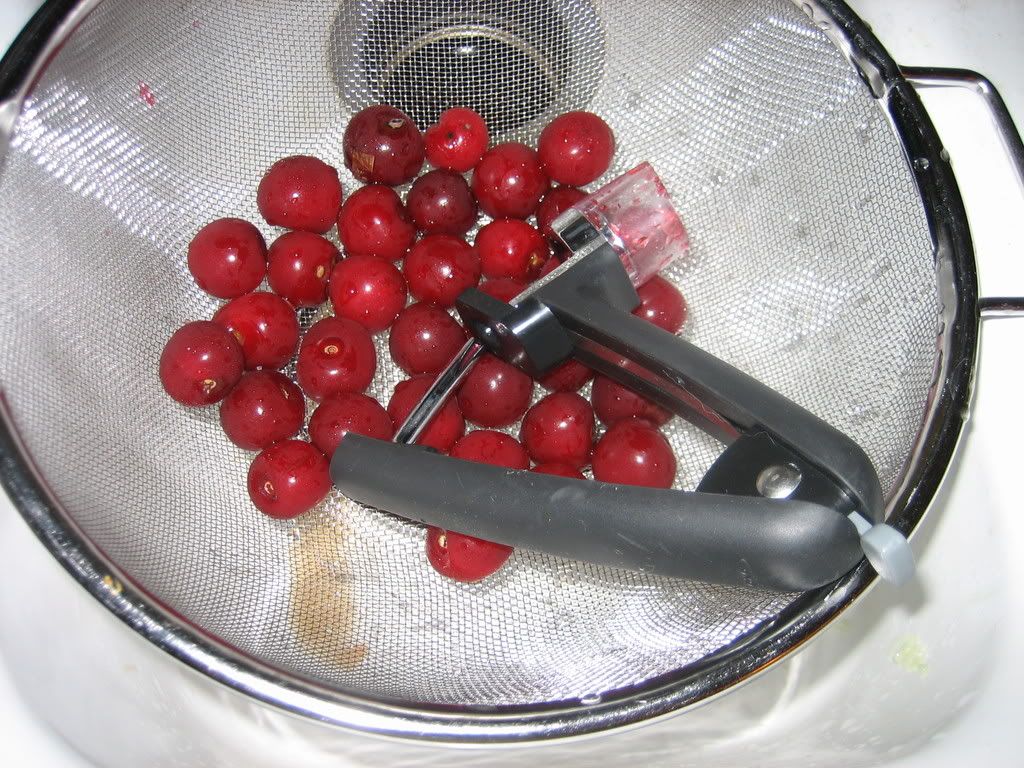
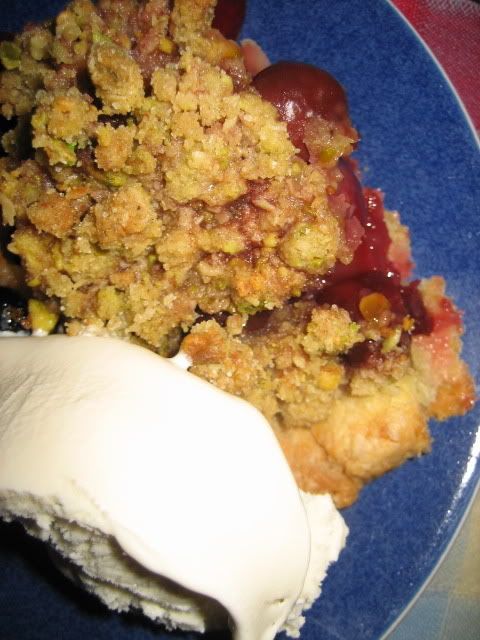
I made a gorgeous cherry pie with pistachio crumb topping. Unfortunately, I didn't get many good pictures of either the process or the pie (still working on my camera skills!). But it was deeelicious and a great ending to our dinner with friends in the Hudson Valley. Thanks to my good friends A. and R. for hosting such a great night with good food, good wine and lots of laughs.
Yes, I did pit all the cherries myself:
And here is one of the only shots I managed to get of the finished product:
So, those are today's pie making tips. Sorry for the long post but I had a lot to tell you folks!


1 comment:
I can totally relate to your pie crust pain! Thanks for sharing -- it made me feel a lot better! :-)
Post a Comment